


How Calvin Eng Plays ‘Chopped’ at Home Every Night
The chef and cookbook author shares his family’s dinner-prep division of labor—and two great recipes

Big news, friends! I’m excited to announce the launch of my new side hustle: The Vintage Table.
If you love teacups and weird forks, vintage glassware and cake plates, and you want to peek at a curated list of great old things to dress up your dinner parties or give as gifts, please subscribe.
Note this new project is a reader-supported operation—after the first two sends, which you can preview now, these lists will only be available for paid subscribers.
Calvin Eng, the chef and owner of Bonnie’s in Williamsburg, Brooklyn, and his fiancée, Phoebe Melnick, have a system.
Phoebe shops and preps, “And then when I come home,” Calvin says, “I cook it and execute it. It’s like playing Chopped every day.”
Sometimes, he notes, the dinner they end up eating is “in line with what she had envisioned. Sometimes it’s, like, something totally different.”
I talked to Calvin on this week’s episode of The Dinner Plan podcast about the restaurant R&D he does at home, the easy recipes he leans on for family dinners, and the couple’s new cookbook, Salt Sugar MSG.
The book gives you a taste of the restaurant’s signatures, including Calvin’s flavor-packed, so-much-better-than-store-bought XO sauce formula and his umami-rich riff on cacio e pepe made with fermented bean curd.
Some of the recipes may work best as Saturday projects, but a lot of the insight that keeps a restaurant humming applies to weeknight cooking at home, too—like Calvin’s brilliant use of store-bought fried garlic to easily add toasty garlic flavor to a creamy salad dressing (see below), and more generally, learning to be truly flexible in the kitchen, subbing out ingredients as needed to use what you have on hand and avoid food waste.
“I think a lot of vegetables are interchangeable in recipes. A lot of proteins obviously are interchangeable,” Calvin explains.
Scroll down for Calvin’s congee recipe—a great way to get the most out of a rotisserie chicken—and a cabbage salad that I can’t get out of my mind, plus links to Calvin’s go-to sheet-pan dinners.
Win a copy of Salt Sugar MSG

Subscribing to The Dinner Plan has benefits—to enter this week’s cookbook giveaway, all you need to do is make sure you’re subscribed to this free newsletter and then leave a comment on this post by Friday, March 21, 2025.
Winner will be alerted by DM and email—be sure to check your messages! U.S. and Canada addresses only, 18+, no purchase necessary. Giveaway not sponsored or administered by Substack or Instagram. Ends Friday, March 21, 2025.
Purchasing something through the affiliate links in this newsletter or this guest-recommended cookbook list on Bookshop helps to keep this work coming out weekly.
Calvin recommends:
Ali Slagle’s Sheet-Pan Italian Sub Dinner
Eric Kim’s Sheet-Pan Bibimbap
Cured meats in New York: Deluxe Meat Market
Get fresh rice noodles: Kong Kee
Fermented bean curd
Hot mustard powder
Four Horsemen cookbook (Bookshop / Amazon)
Woks of Life cookbook (Bookshop / Amazon)
Catch up on The Dinner Plan podcast:
Learning Plant-Based Cooking With Joe Yonan
Beyond the Kitchen Grind With Jessica Battilana
Let Melissa Clark Solve Your Pantry Problems
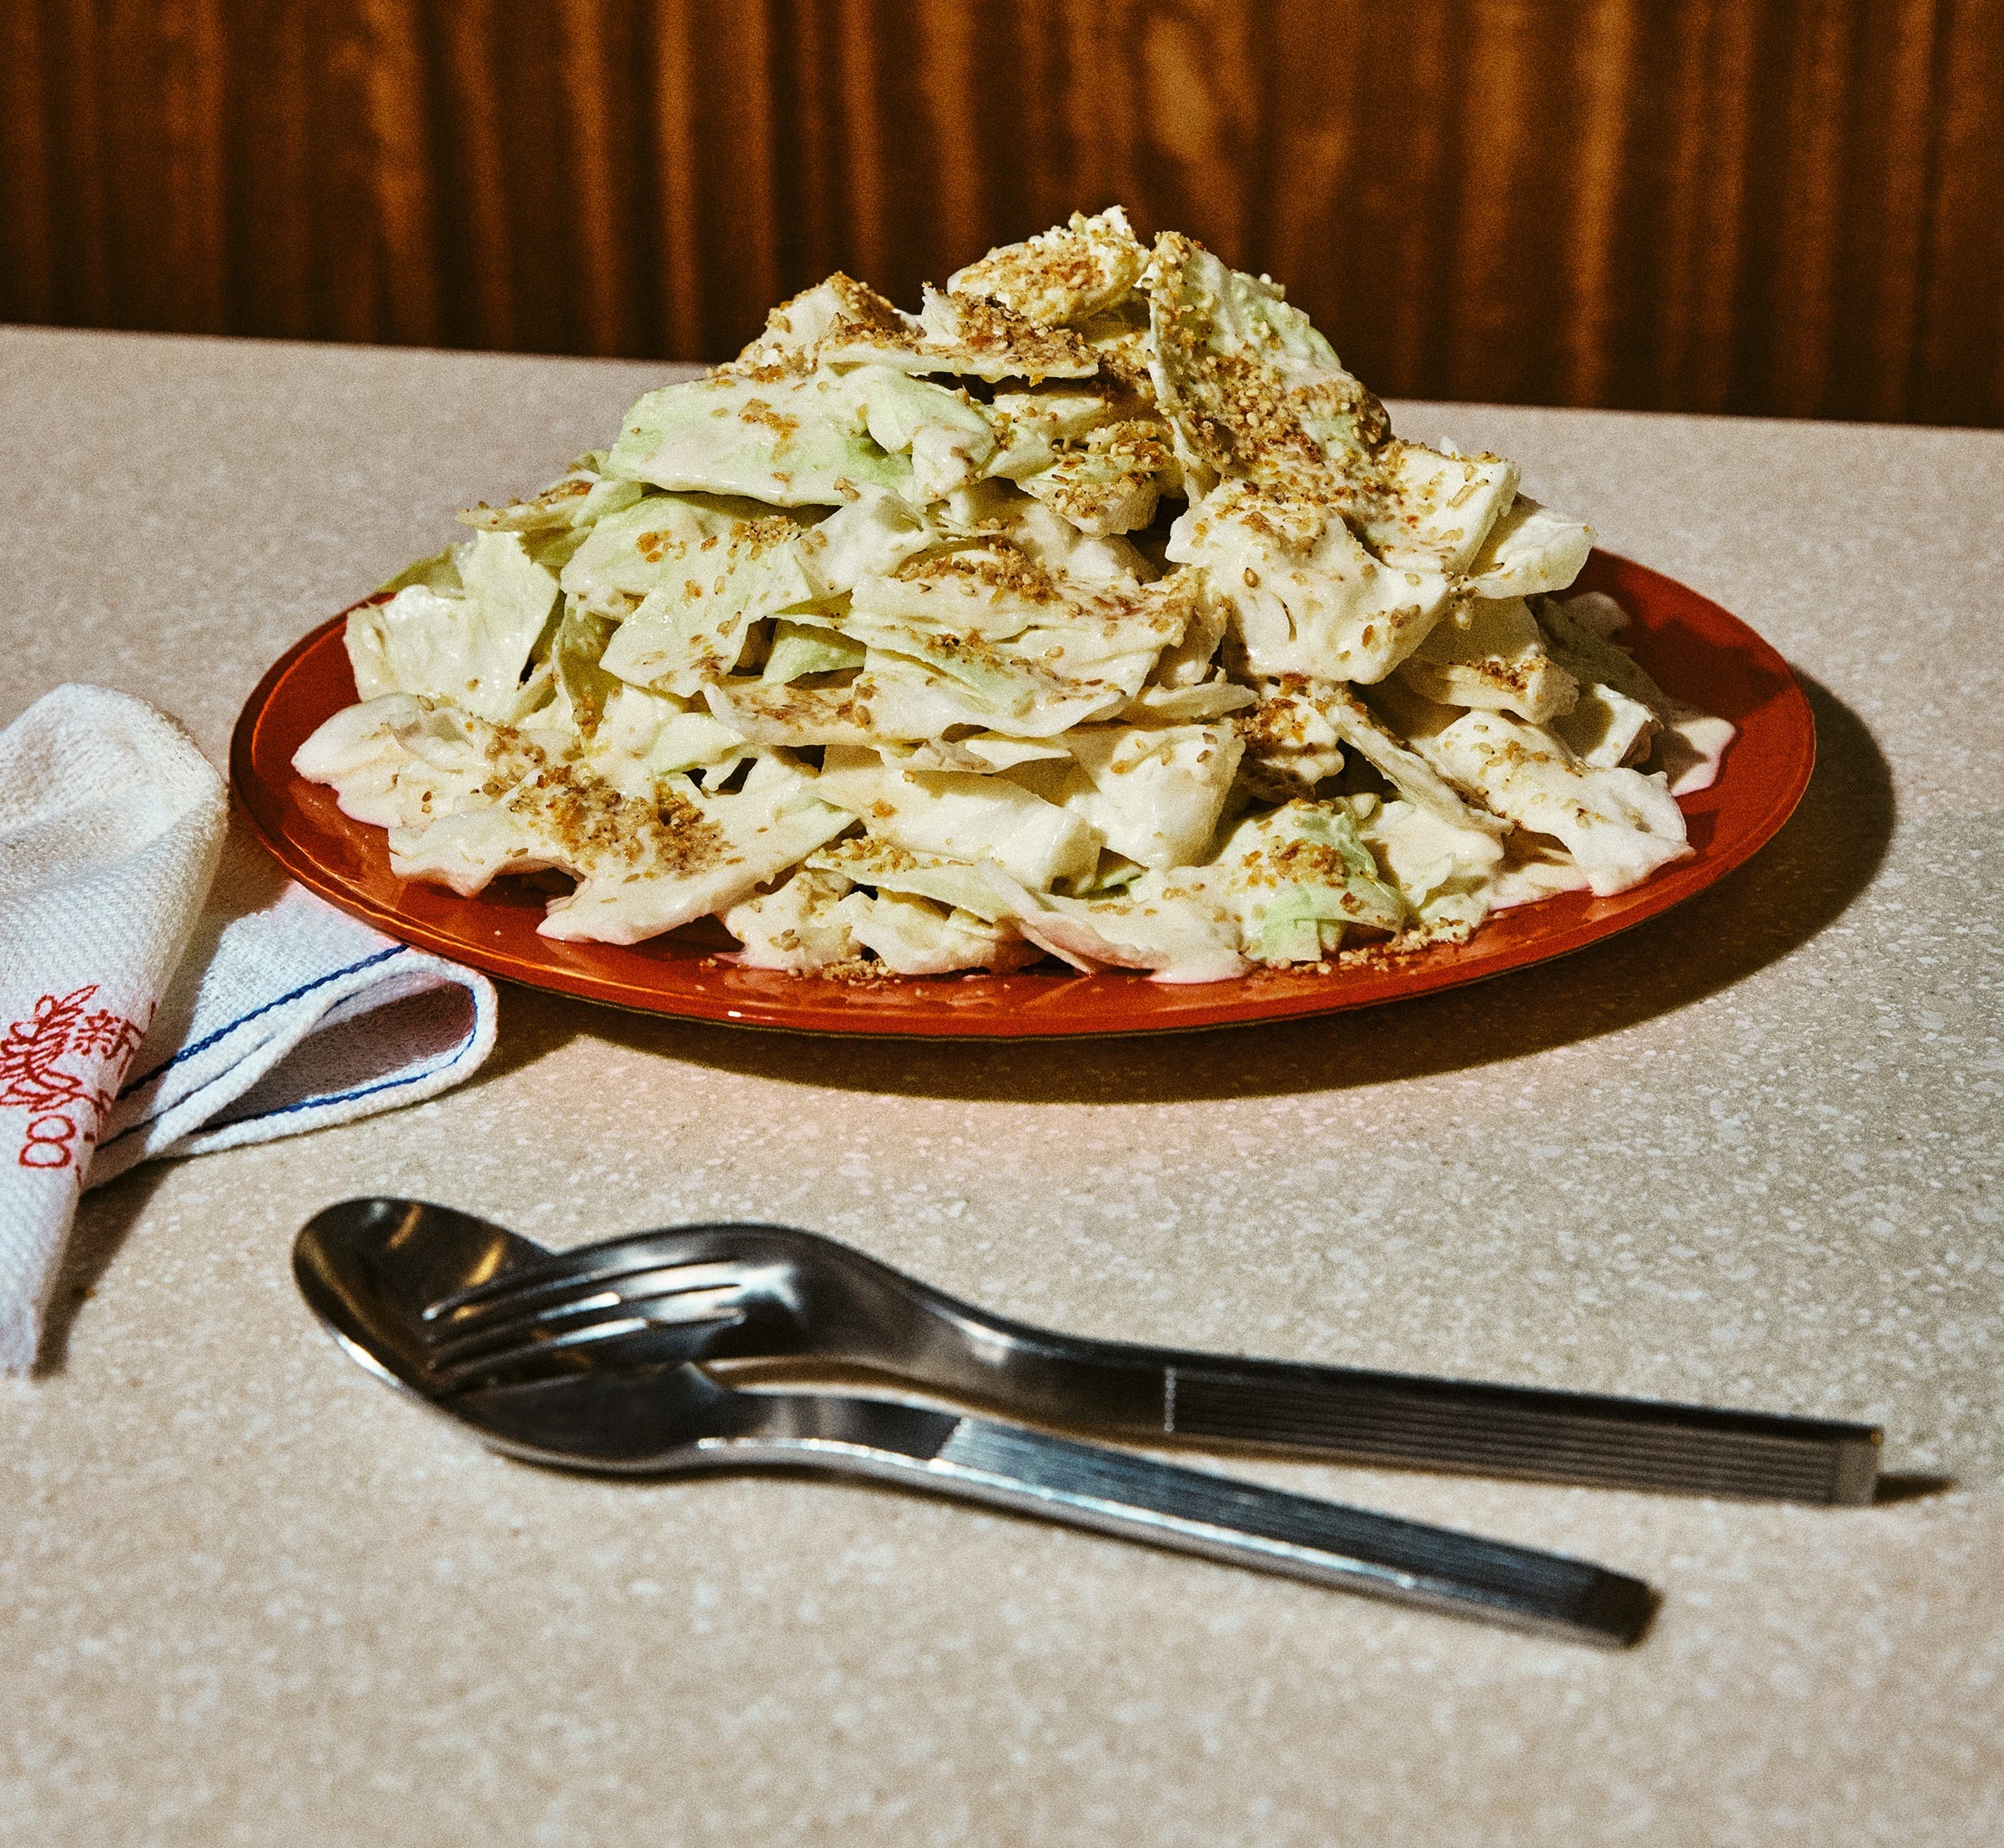
Cabbage Salad with Fried Garlic Sesame Dressing
Excerpted with permission from Salt Sugar MSG, copyright © 2025 by Calvin Eng and Phoebe Melnick. Published by Clarkson Potter, an imprint of Crown Publishing Group.
Serves 4
The star (not-so-secret) ingredient in this super-simple salad dressing is bits of fried garlic. You can’t develop a deep garlicky taste with grated raw garlic or a dash of garlic powder. You need deep-fried, lightly golden pieces of garlic. Luckily, you don’t have to fry them yourself. That would be immensely time-consuming and completely unnecessary, especially when you can buy at the Asian supermarket massive jars of the stuff that are perfect every time. More often than not, fried garlic is used as a simple garnish, but I like to sneak the fried allium into this creamy vegan dressing for an extra punch of flavor.
Garnish:
1 tablespoon toasted white sesame seeds
1 tablespoon store-bought fried shallots
Dressing:
½ pound soft tofu (not silken), drained
6 tablespoons water
¼ cup rice vinegar
2 tablespoons tahini
2 tablespoons store-bought fried garlic
1 teaspoon kosher salt
½ teaspoon MSG
Greens:
1 pound savoy, or purple or white napa cabbage leaves, roughly cut into 1-inch pieces
Kosher salt
MSG
1. Prepare the garnish: In a spice grinder or mortar and pestle, combine the sesame seeds and shallots and pulse a few times to a crushed, sandy texture. Pour the garnish into a small bowl and set aside.
2. Prepare the dressing: In the same blender (no need to rinse it or wipe it out), combine the tofu, water, vinegar, tahini, fried garlic, salt, and MSG. Starting on low speed, slowly blend the dressing while gradually increasing the speed to high, continuing to blend until the mixture is smooth and creamy. You should have about 1½ cups dressing. This dressing can be made up to a week ahead and stored in an airtight container in the fridge. It can also be used as a dipping sauce!
3. Dress the greens: In a large bowl, toss the cabbage with the dressing to coat evenly. Feel free to use as much or as little dressing as you like. Gently massage the cabbage with your hands until tender. Season the greens with salt and MSG to taste. Garnish with the crushed sesame-shallot mixture and serve.

Rotisserie Chicken Congee
Excerpted with permission from Salt Sugar MSG, copyright © 2025 by Calvin Eng and Phoebe Melnick. Published by Clarkson Potter, an imprint of Crown Publishing Group.
Serves 4
Every time my family went to Costco, we always snagged a box of croissants (they reheat so well), a large supreme pizza (because it was the same price as a regular cheese), and a hot rotisserie chicken off the spit (because in those days it was practically the same price as an uncooked chicken). We would make that five-dollar chicken last for as many meals as possible.
My sister and I would pick the bird clean for breakfast, lunch, and dinner, and then my mom would turn the remains into a pot of congee, throwing the whole carcass in and letting it slowly simmer away with the rice. Once she ditched the bones, we would have the most flavorful pot of congee for the next few days. Honestly, I still dream about that Costco rotisserie chicken. (And I dream of the day I live in an apartment with big enough closets to store Costco-size bulk purchases.)
Note: You can swap in 10 cups homemade or store-bought low-sodium broth for the water in this recipe for added flavor and nutrition.
For the congee:
1 cup jasmine rice
10 cups water (see Note)
1 rotisserie chicken carcass, 1 cup shredded meat reserved
2-inch piece ginger, julienned
Kosher salt
MSG
To serve:
2 scallions, thinly sliced
2 tablespoons chopped fresh cilantro
Freshly ground white pepper
Seasoned soy sauce or sweet soy sauce (I like Lee Kum Kee brand), to drizzle
4 yauh ja gwai (optional, storebought or homemade, see recipe below), to dunk
1. Make the congee: Rinse the rice in a fine-mesh strainer under cold running water until the water runs clear. Turn o¢ the tap, shake o¢ as much water as possible from the rice, and then transfer the rice to a small freezer-safe container. Freeze the rice for at least 5 hours or up to 24 hours.
2. In a large pot, bring the water to a boil over high heat, then gently whisk in the frozen rice. Reduce the heat to medium and whisk every few minutes for 20 minutes. Add the chicken carcass and the ginger and continue to whisk until all the rice grains have broken down into a porridge-like texture with no whole grains, 15 to 20 minutes longer. As the congee simmers, the meat clinging to the bones will slowly come off cleanly into the congee.
3. Season the congee with salt and MSG to taste and remove the carcass from the pot if you wish. (I enjoy sucking on the bones as I’m eating to extract every last bit of flavor and meat.) Stir in the shredded chicken and warm through, about 2 minutes.
4. To serve: Ladle the congee into big bowls. Top each bowl with the scallions, cilantro, a pinch of pepper, and a drizzle of seasoned soy sauce or sweet soy sauce. Set the yauh ja gwai alongside to dunk.
Yauh Ja Gwai (Fried Crullers)
Makes 4 crullers
Airy, deep-fried yauh ja gwai—literally translated to “oil-fried ghosts”—go by many names, including fried dough sticks, youtiao, and fried crullers. It’s hard to miss a stack of these flu¢y, golden dough sticks piled up on the counter at just about every shop selling tofu or roast meats or congee or dim sum in Chinatown. They are the ultimate congee dunkers and sauce-sopper-uppers. I pick some up every time I go shopping and always keep a stack in my freezer to flash in the oven for a superquick reheat that crisps up the exterior but keeps that soft, squishy interior. You can usually grab them at Asian markets or restaurants in Chinatown. Chances are if a spot sells congee, it will sell you yauh ja gwai. But they’re also easy to make at home with ingredients you probably already have lying around. Serve with congee or stir-fry with long beans.
2 cups (240g) all-purpose flour, plus more for dusting
1 teaspoon (3g) baking powder
½ teaspoon (3g) baking soda
½ teaspoon (3g) kosher salt
½ teaspoon (2g) sugar
1 large egg
½ cup (113g) water
1 tablespoon (12g) neutral oil, preferably grapeseed, plus more for frying
1. Prepare the dough: In a stand mixer fitted with the dough hook, mix together the flour, baking powder, baking soda, salt, and sugar on low speed until blended. In a small bowl, whisk together the egg, water, and oil, mixing well.
2. With the mixer running on low speed, slowly stream the wet ingredients into the dry ingredients. Increase the mixer speed to medium and knead the dough (if at first the dry ingredients aren’t incorporated, use a rubber spatula along the edge of the bowl to encourage mixing) until it comes together and is smooth, about 10 minutes. The dough should be a little sticky to the touch. Cover the bowl with plastic wrap and let the dough rest and relax at room temperature for 30 minutes.
3. Turn the dough out onto a work surface lightly dusted with flour. Using your hands, gently press the dough into a rectangle roughly 9 inches long, 7 inches wide, and ¼ inch thick. Tightly wrap the dough rectangle in plastic wrap and lay it flat on a baking sheet. Pop the pan into the fridge and let the dough rest for 4 to 6 hours.
4. Shape the yauh ja gwai: Work with the dough while it is cold so it’s easier to handle. Lightly dust the work surface again with flour and lay the dough rectangle on it. Cut the rectangle crosswise into eight even strips each about 1 inch wide. Lift one strip and stack it, unfloured side down, on top of a second strip. Press the strips together so they stick to each other. Repeat with the remaining strips to make four dough sticks total. Working with one dough stick at a time, use a chopstick to press firmly into the center of each stick, creating the iconic vertical crease down the middle. This will help join thestacked dough pieces together into one stick. If the chopstick sticks, lightly grease it with oil before each creasing. Cover the dough sticks with plastic wrap after shaping to prevent them from drying out.
5. Prepare to fry: Pour oil to a depth of at least 2 inches (or halfway up the sides, whichever is shallower) of a large pot or Dutch oven (10 to 12 inches in diameter) and heat over medium-high heat to 375°F to 400°F. Line a large plate with paper towels and set it near the stove.
6. Fry the yauh ja gwai: When the oil is ready, working with one dough stick at a time, carefully stretch it to roughly 10 inches long, then gently lower it into the oil. Fry the dough stick, flipping it nonstop with tongs or chopsticks to ensure it fries evenly, until it puffs up and turns lightly golden brown, about 1 minute. Transfer to the paper towel–lined plate to drain. Repeat with the remaining dough sticks.
7. Serve the yauh ja gwai hot. To store, let cool, pop them into a ziplock bag, and refrigerate for up to 1 week or freeze for up to 1-month. To reheat, place on a wire rack set in a baking sheet, transfer to a preheated 400°F oven, and heat until warmed through and crispy again, about 6 minutes.
Love! I make fried shallots and keep the oil too, so I will definitely be making fried garlic too!
Love this episode! They sometimes do “relay race” episodes on Guy’s Grocery Games where 1 person shops and preps, 1 person does the first round of cooking, and 1 person finished the dish all without talking to each other, this episode reminded me of that!